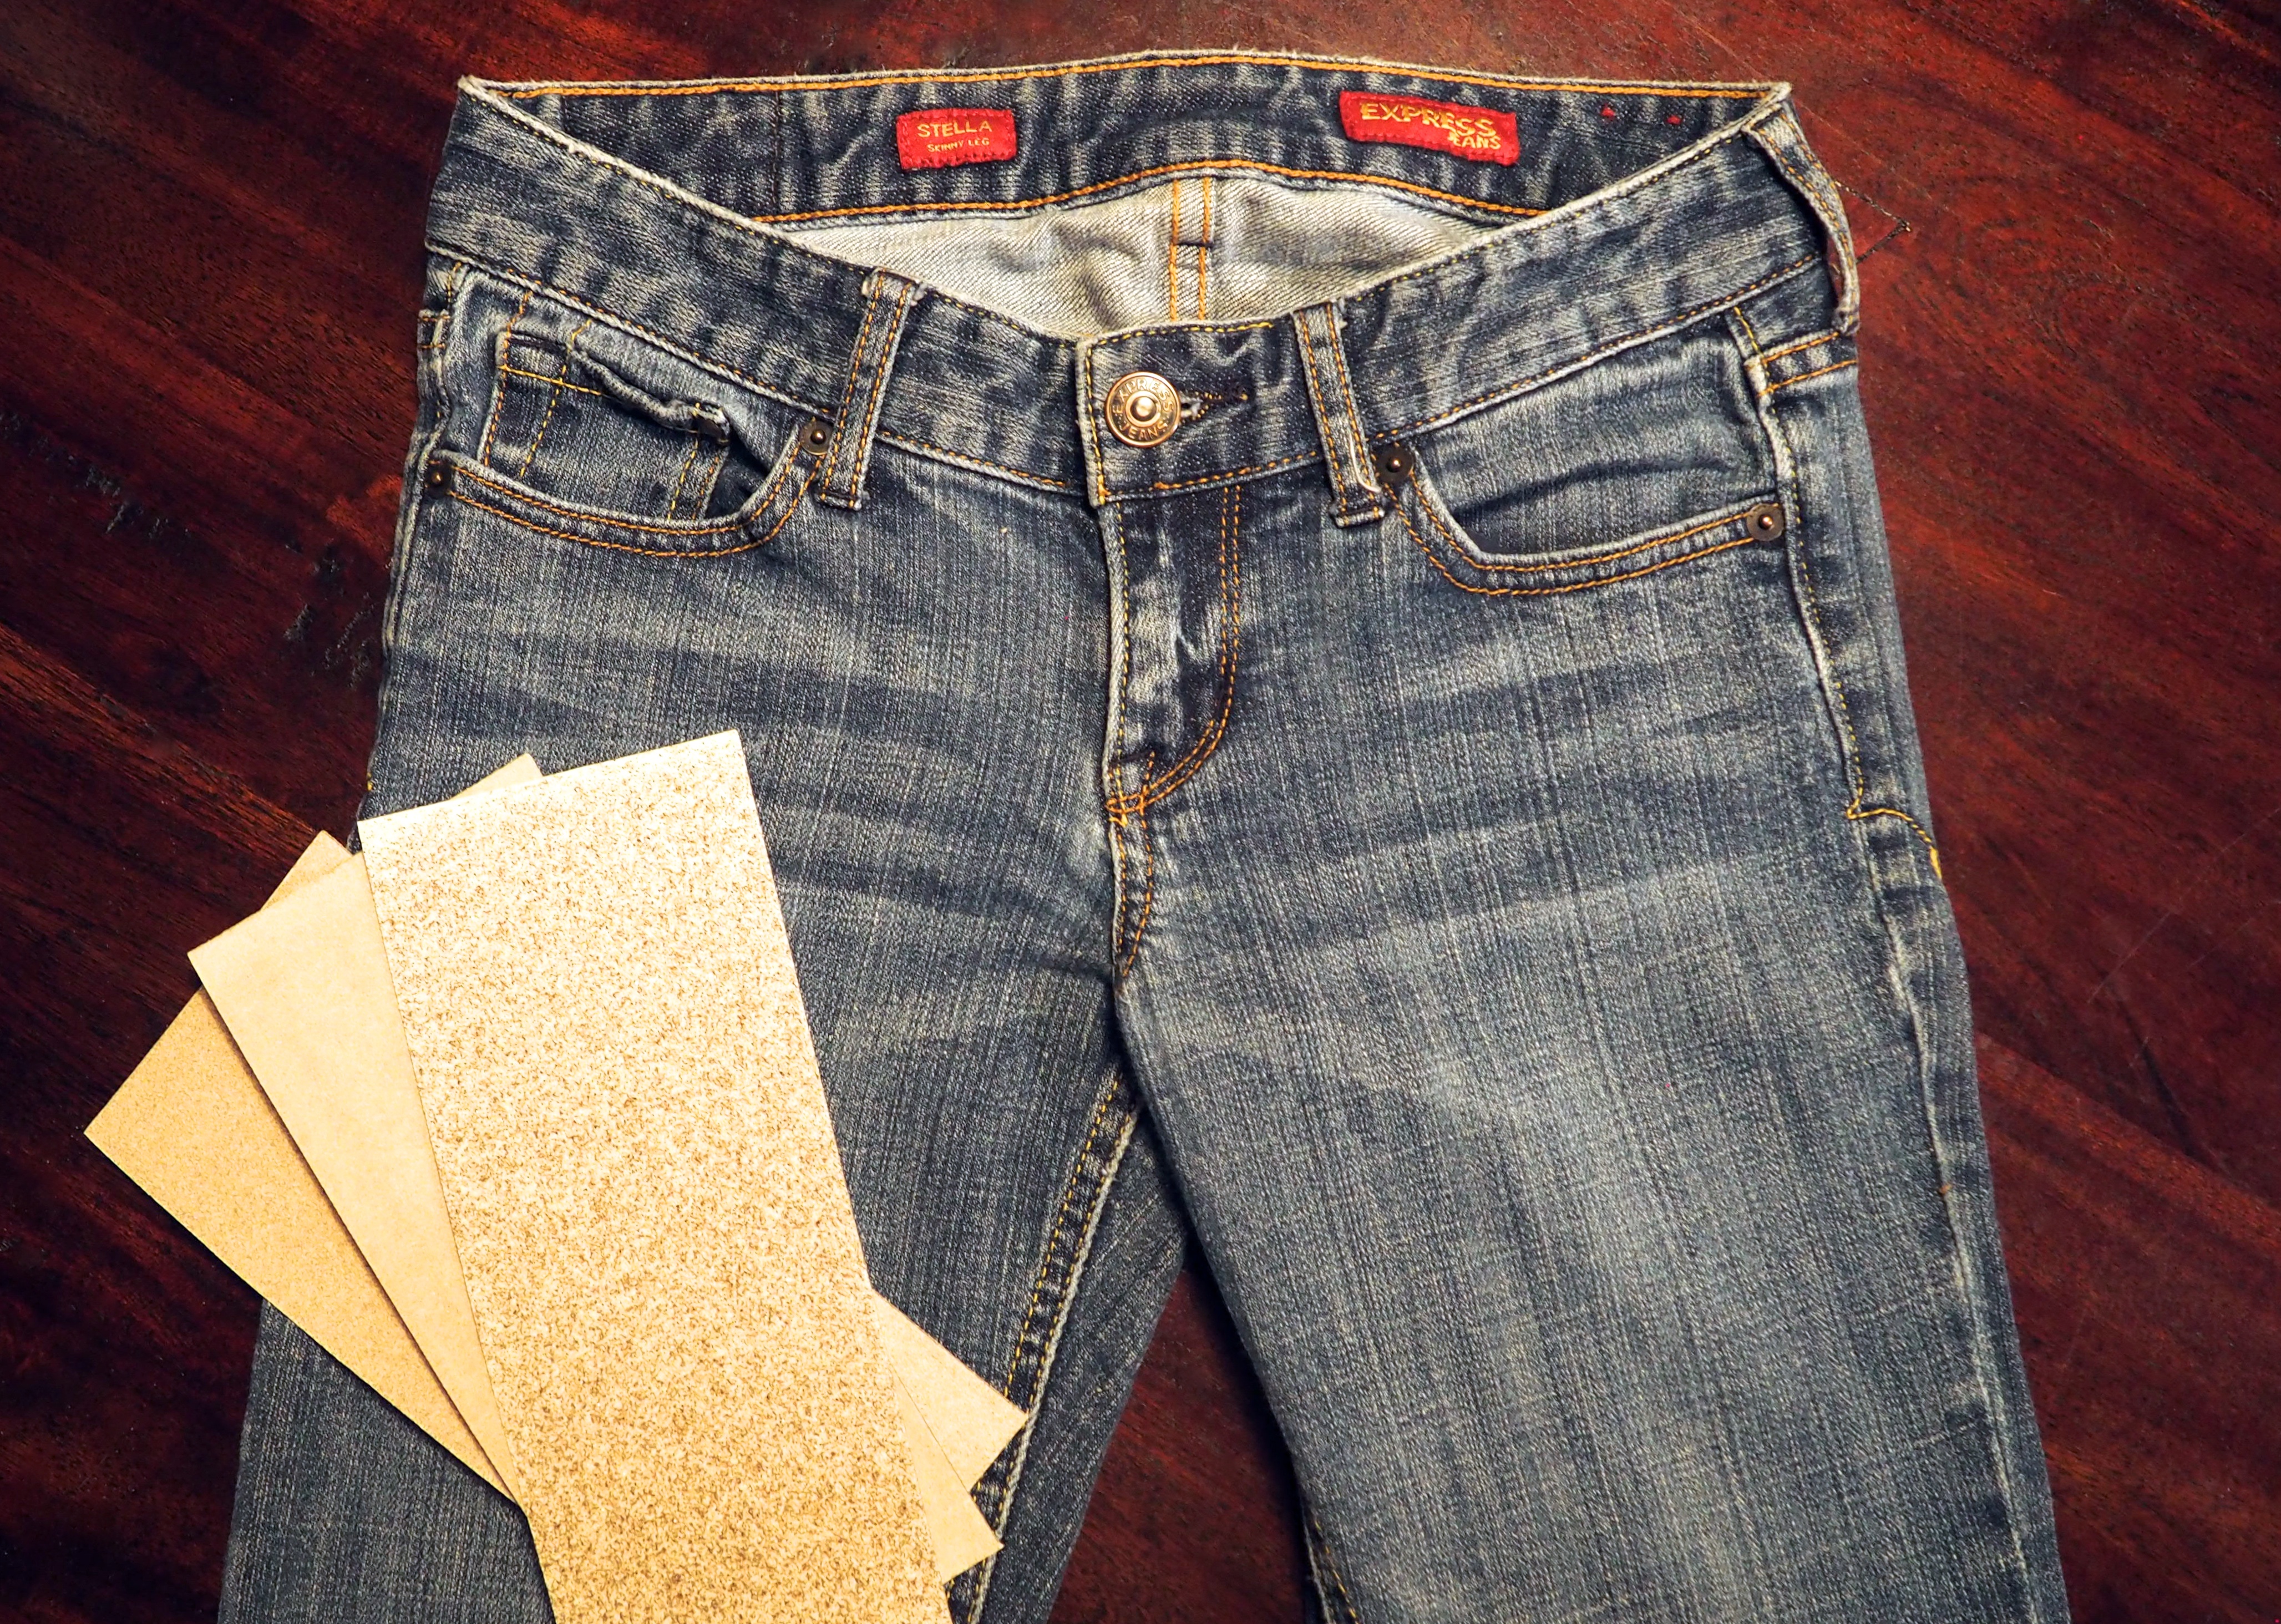
What you’ll need:
A pair of jeans
A pen
Coarse sandpaper
Scissors
An insertable sturdy surface (mini cutting board)
A little elbow grease & patience!
 Step One: Find an old pair of jeans to practice on if you’ve never tried distressing your own jeans before. Unfortunately I learned that the hard way. If you don’t have a pair you’re willing to test your skills on, head to a local thrift store and pick up a pair for a couple bucks. You’ll be glad you did should your sanding not go as planned. Typically the lighter the shade, the better it seems to look, so opt for lighter denim when picking your pair.
 Step Two: Put your jeans on and use a pen to mark a rough outline of where you want to place your distress marks. It’s important to make the marks while wearing them to avoid awkward placement.
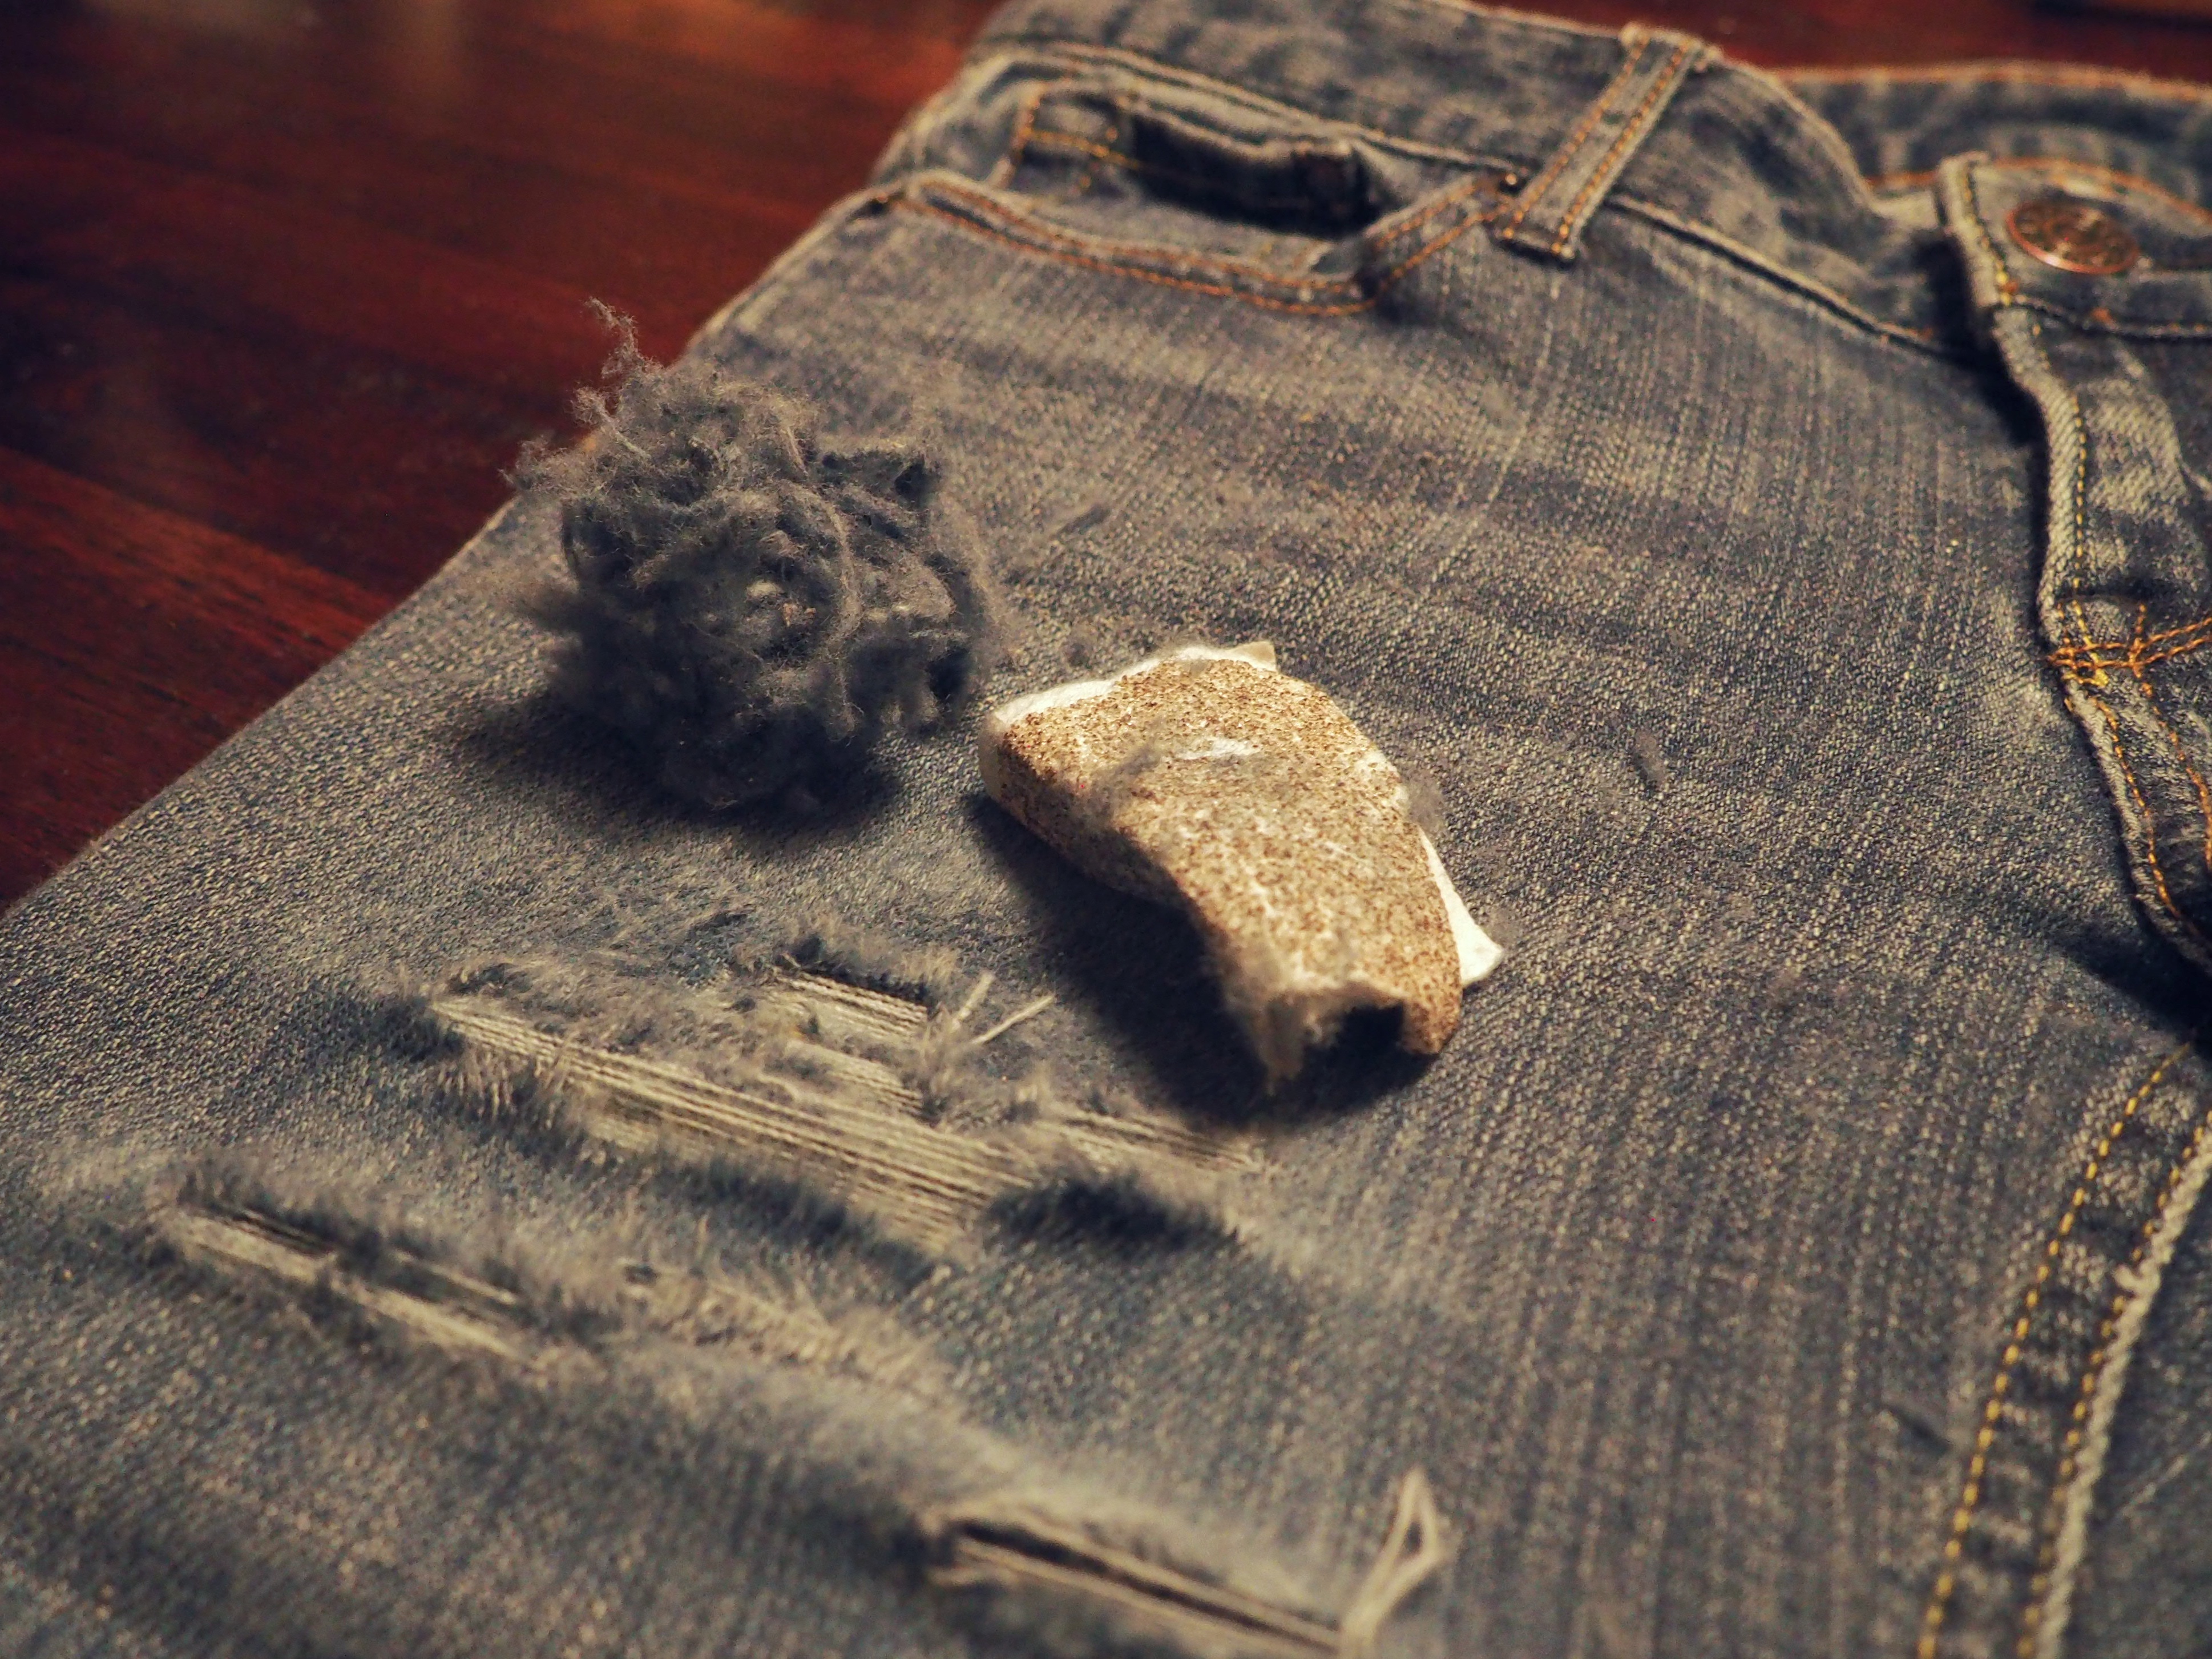
 Step Three: Insert a sturdy surface into the pant leg just under the area you wish to distress. I have used items like mini cutting boards or even a magazine. Next, use a decent sized strip of coarse sandpaper to rub the denim in a vertical, methodical motion. This is where patience and persistence comes into play. It’s tedious work but once you start wearing down the area it becomes a little easier. You may also use a pair of scissors but don’t overdo it. Cutting with scissors won’t give you the frayed look we’re going for but it will help with small cuts and tears.
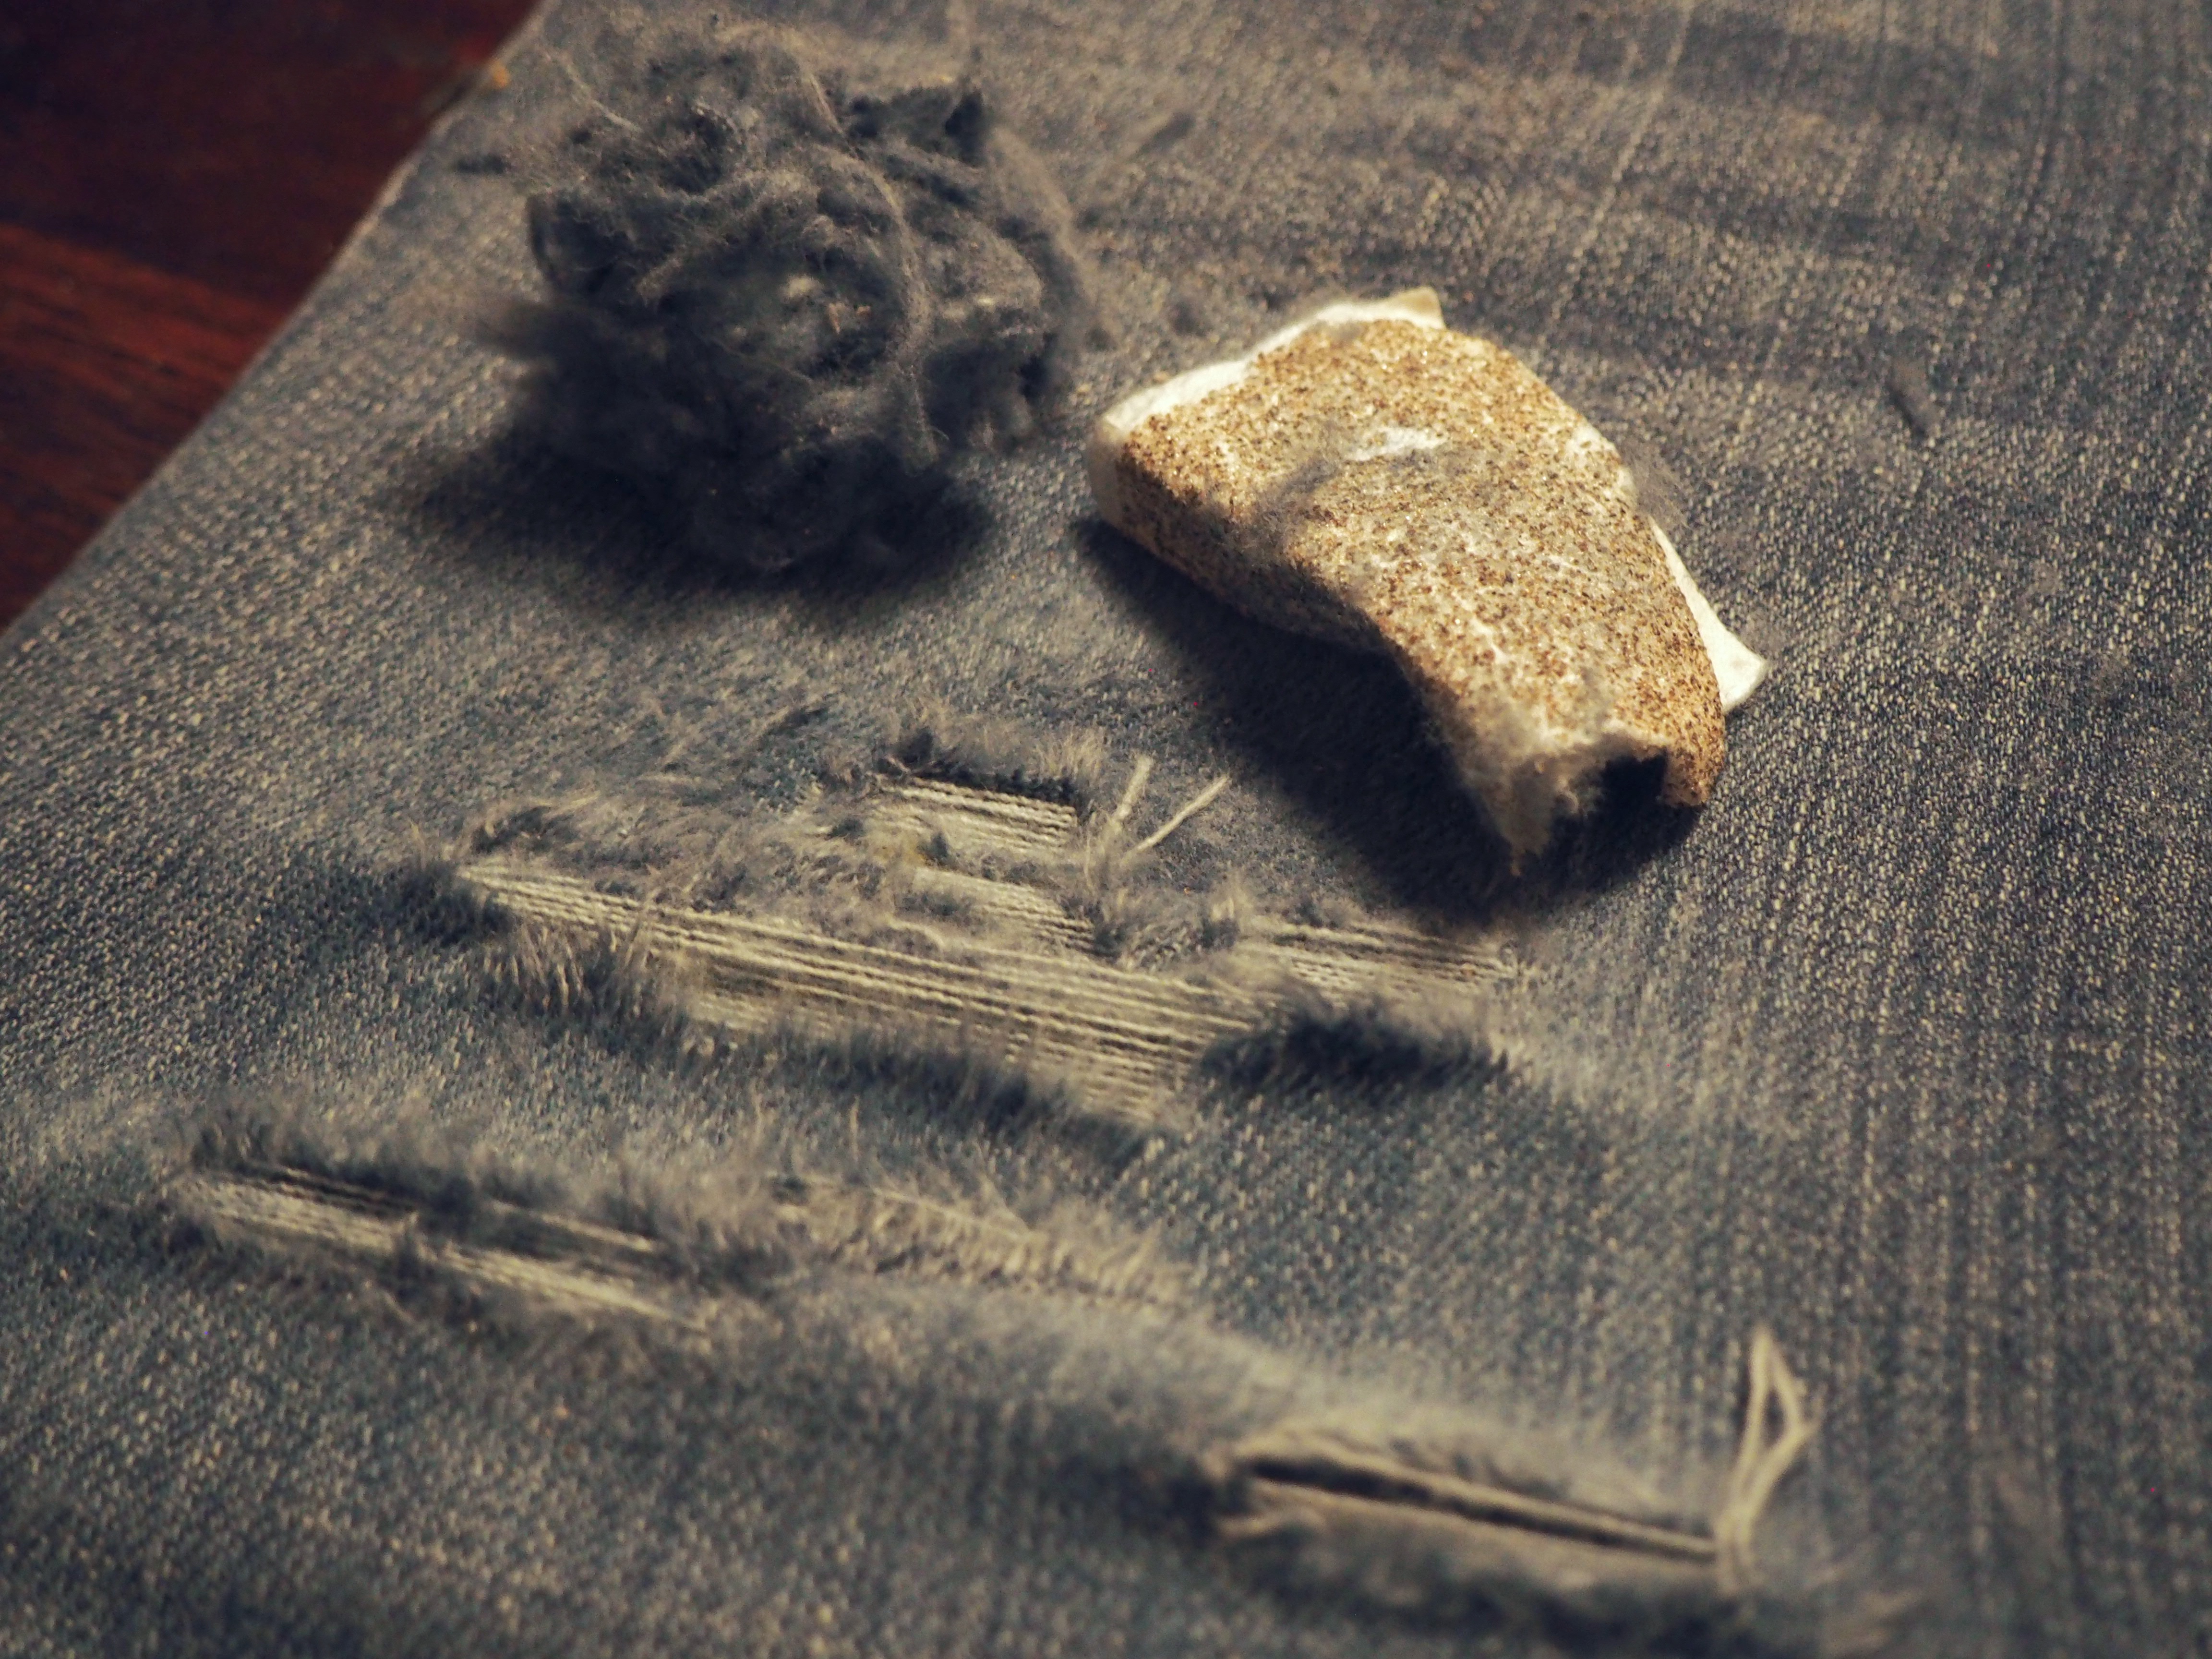 Feel free to (for lack of a better word) go H.A.M. and distress the hell out of them. If you’re arm gets tired, try using different tools. I once used a cheese grating stick to break the fibers apart so there’s no limit on the instruments you can utilize.
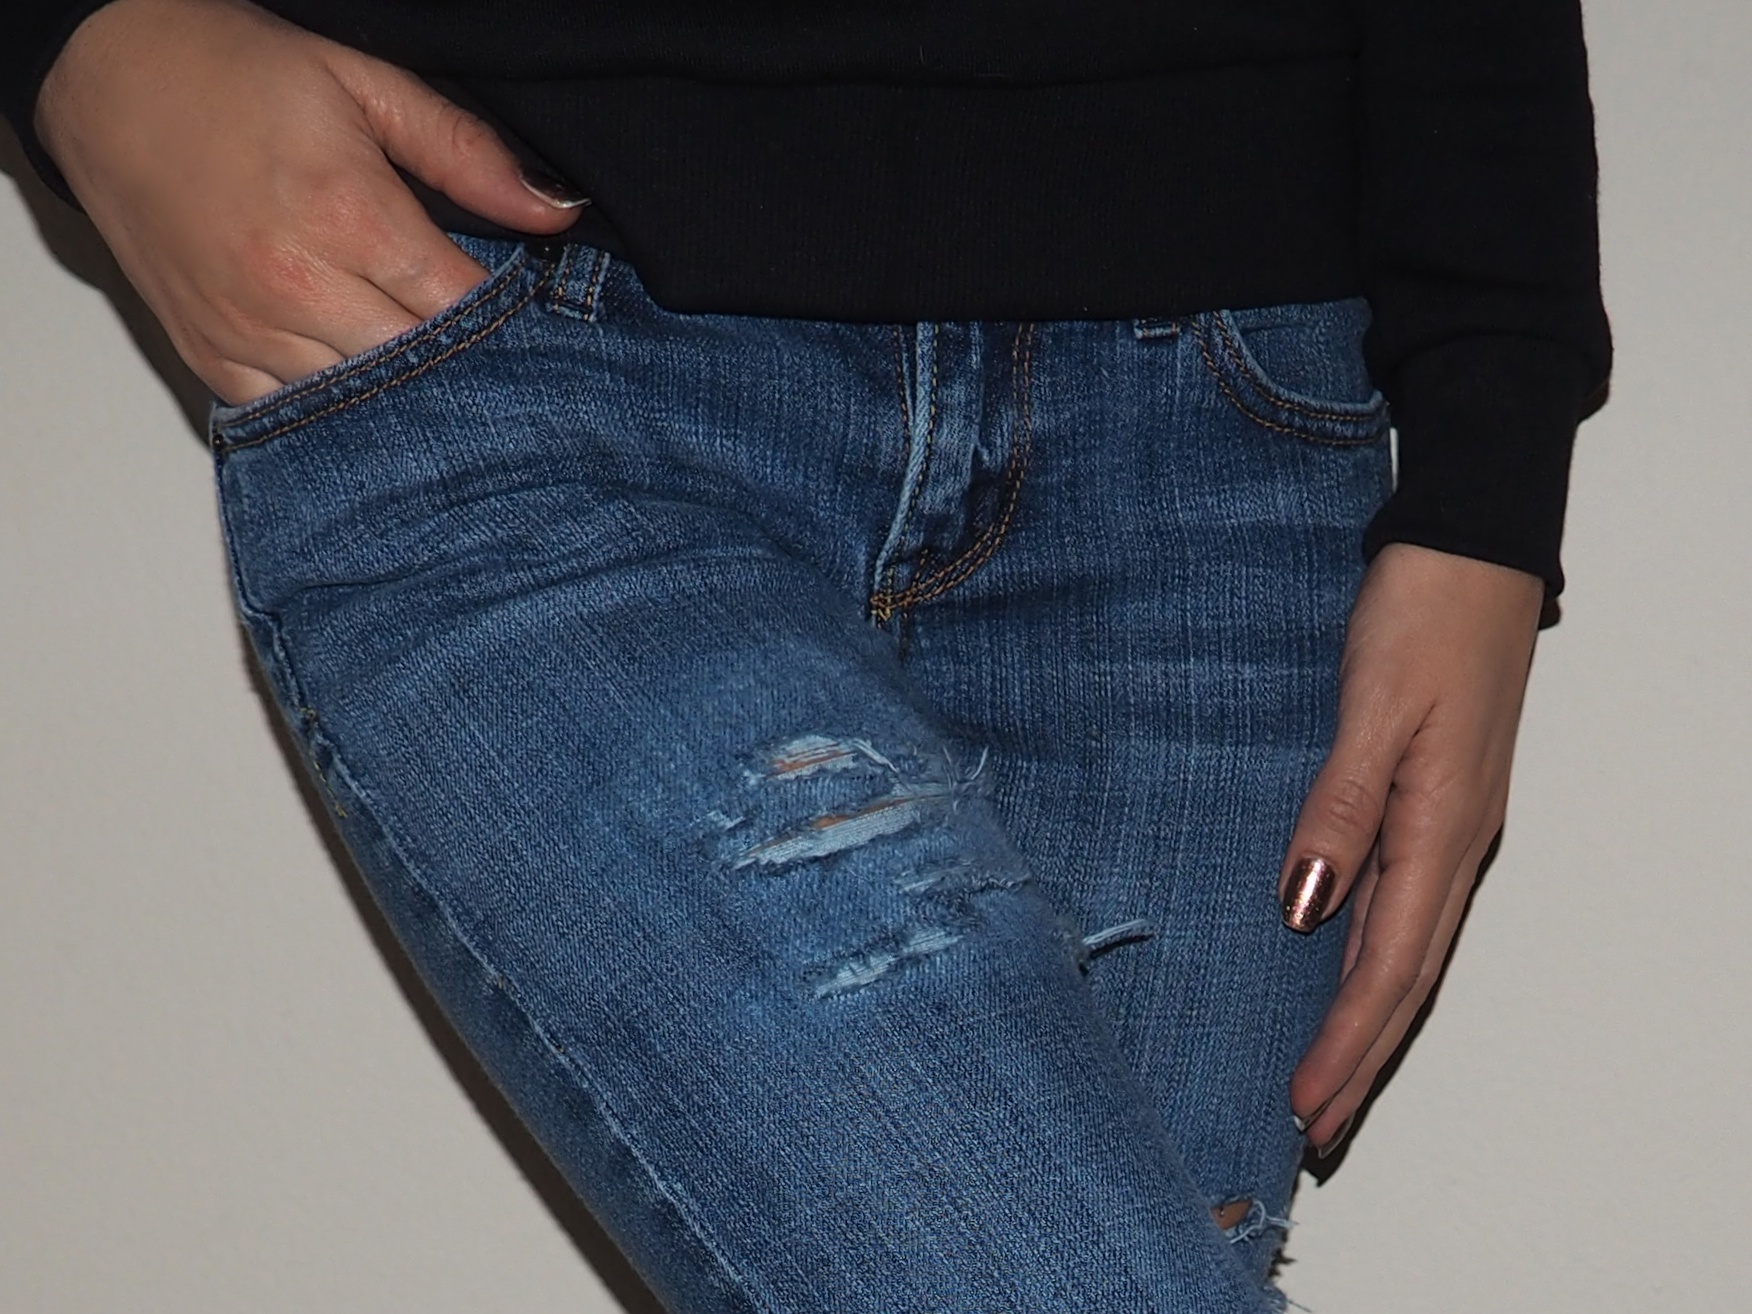
You can reinforce your marks by stitching around it but I prefer to let mine progressively change over time with natural wear and tear. Think of this process as a head start. Once you’re satisfied with the amount of distress, you’re done! Shake the loose sandpaper and threads off and enjoy!


No Comments